Transition Sonsbeek 2021
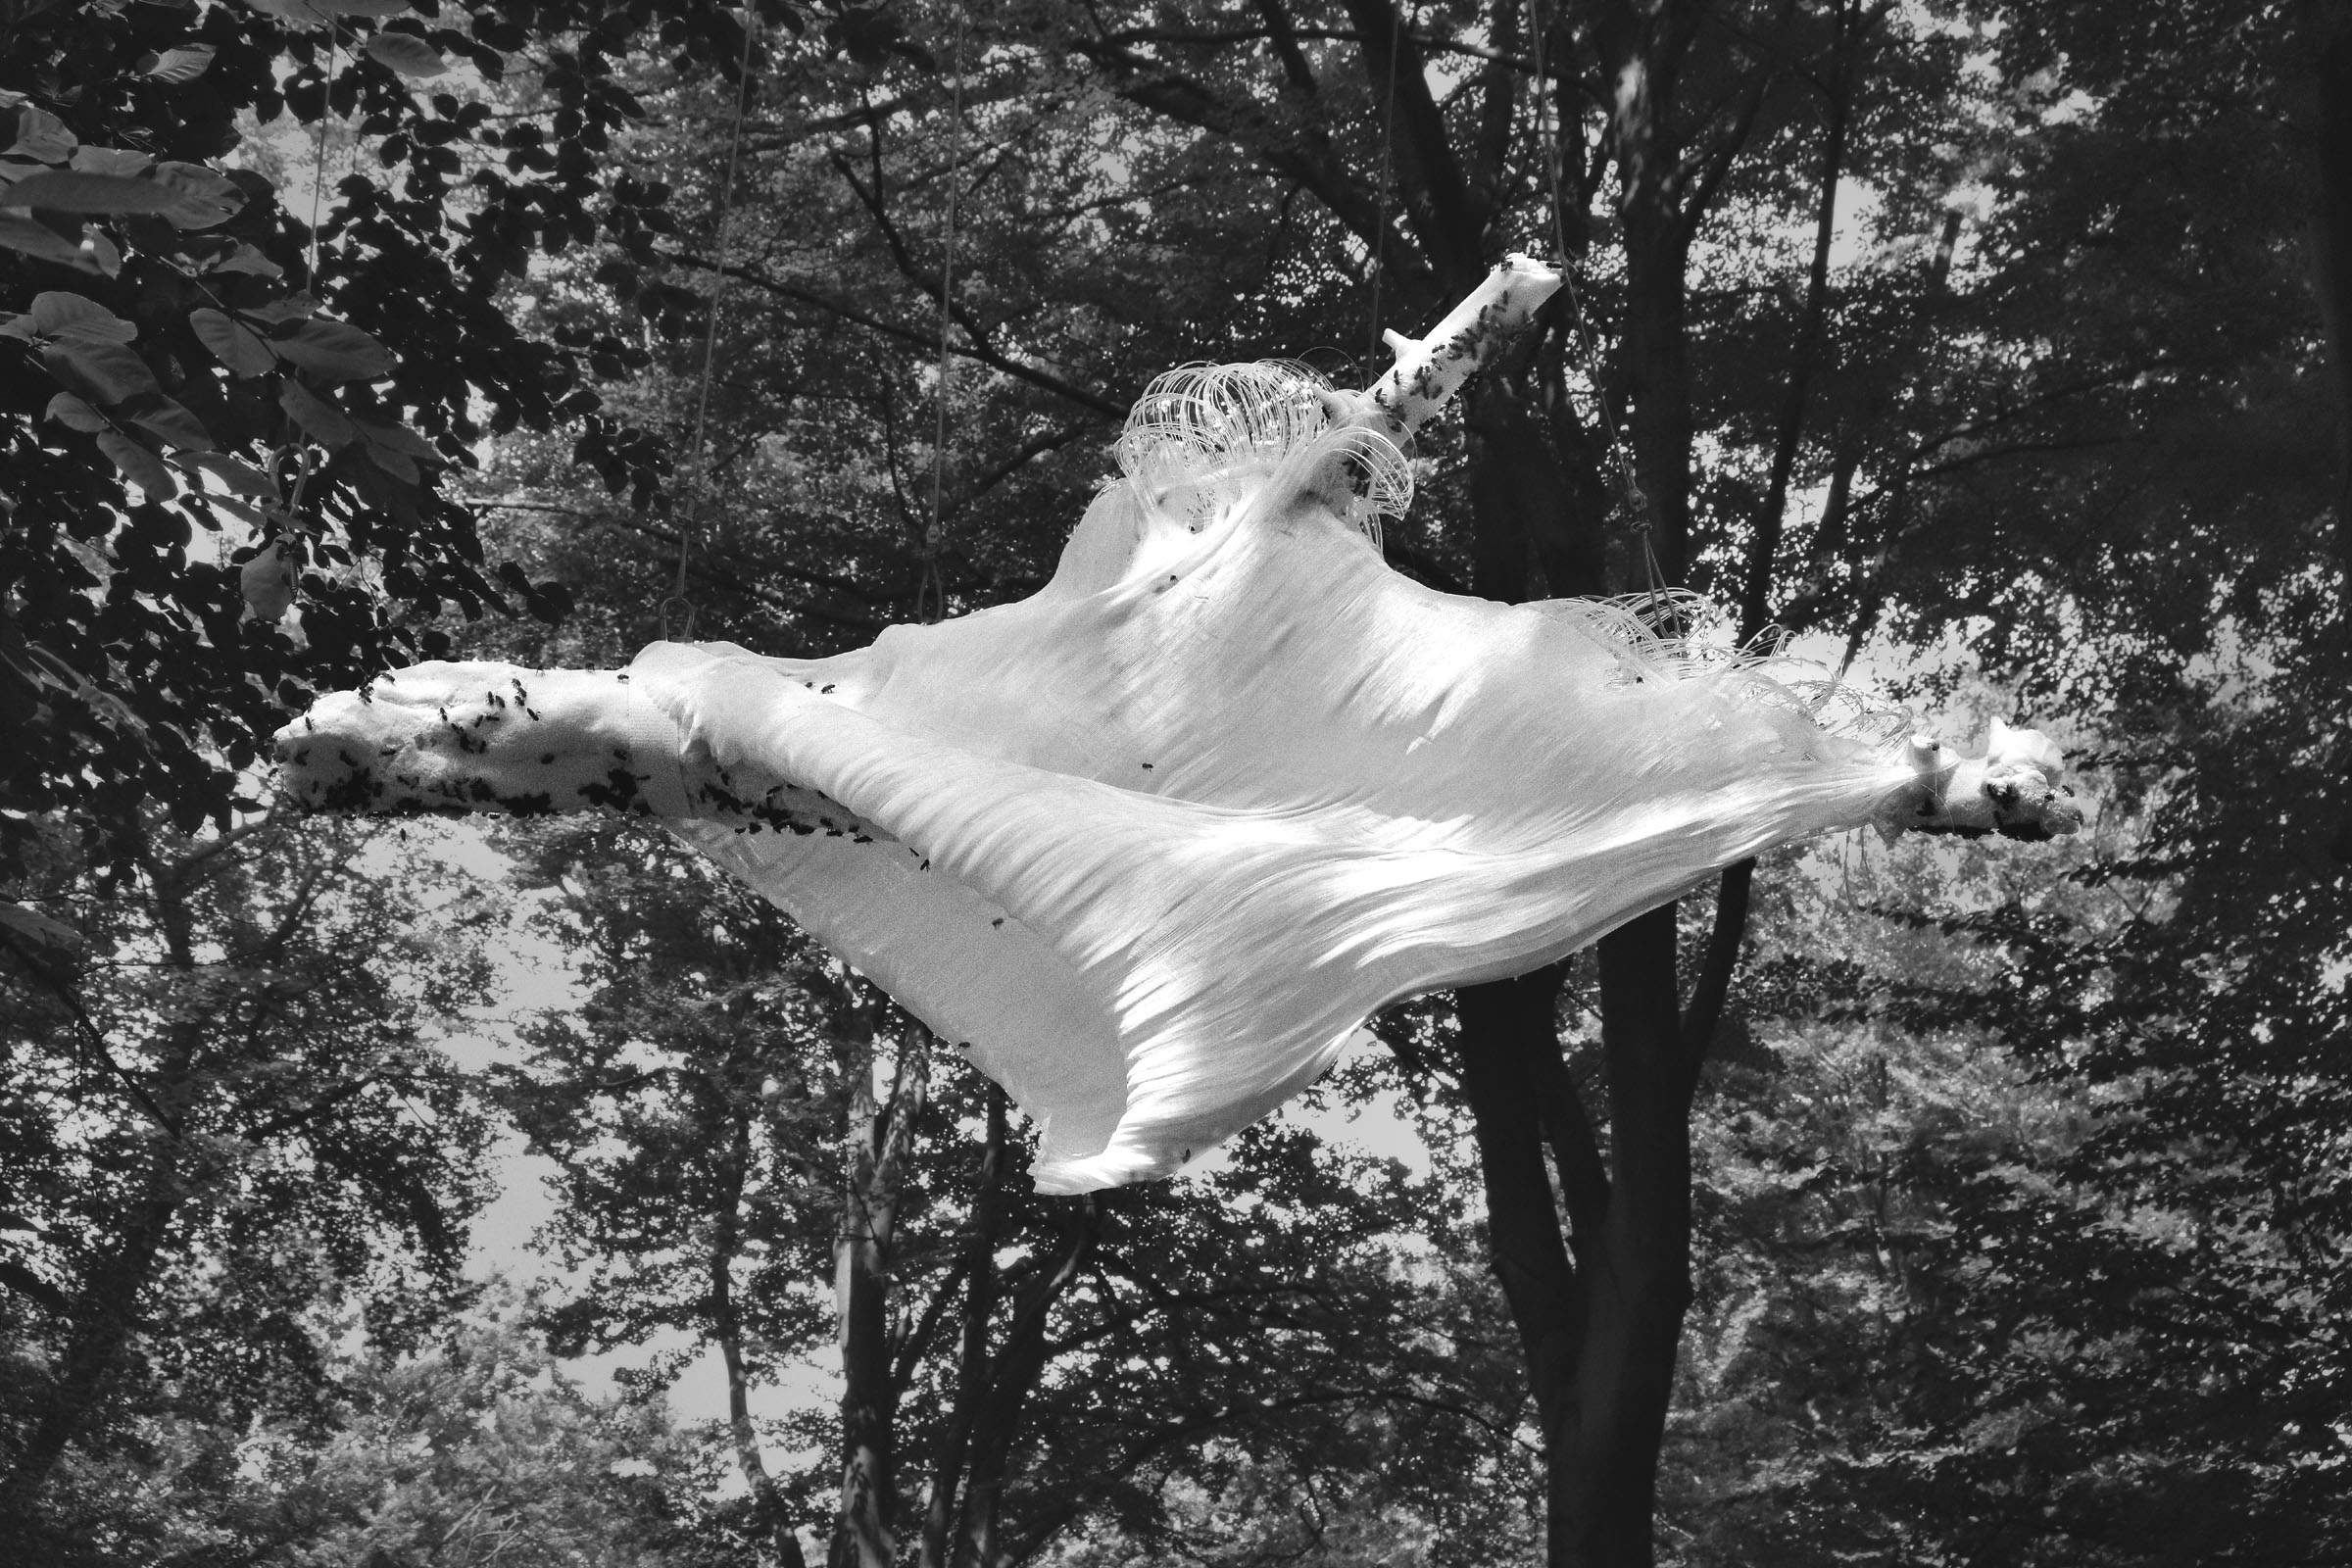
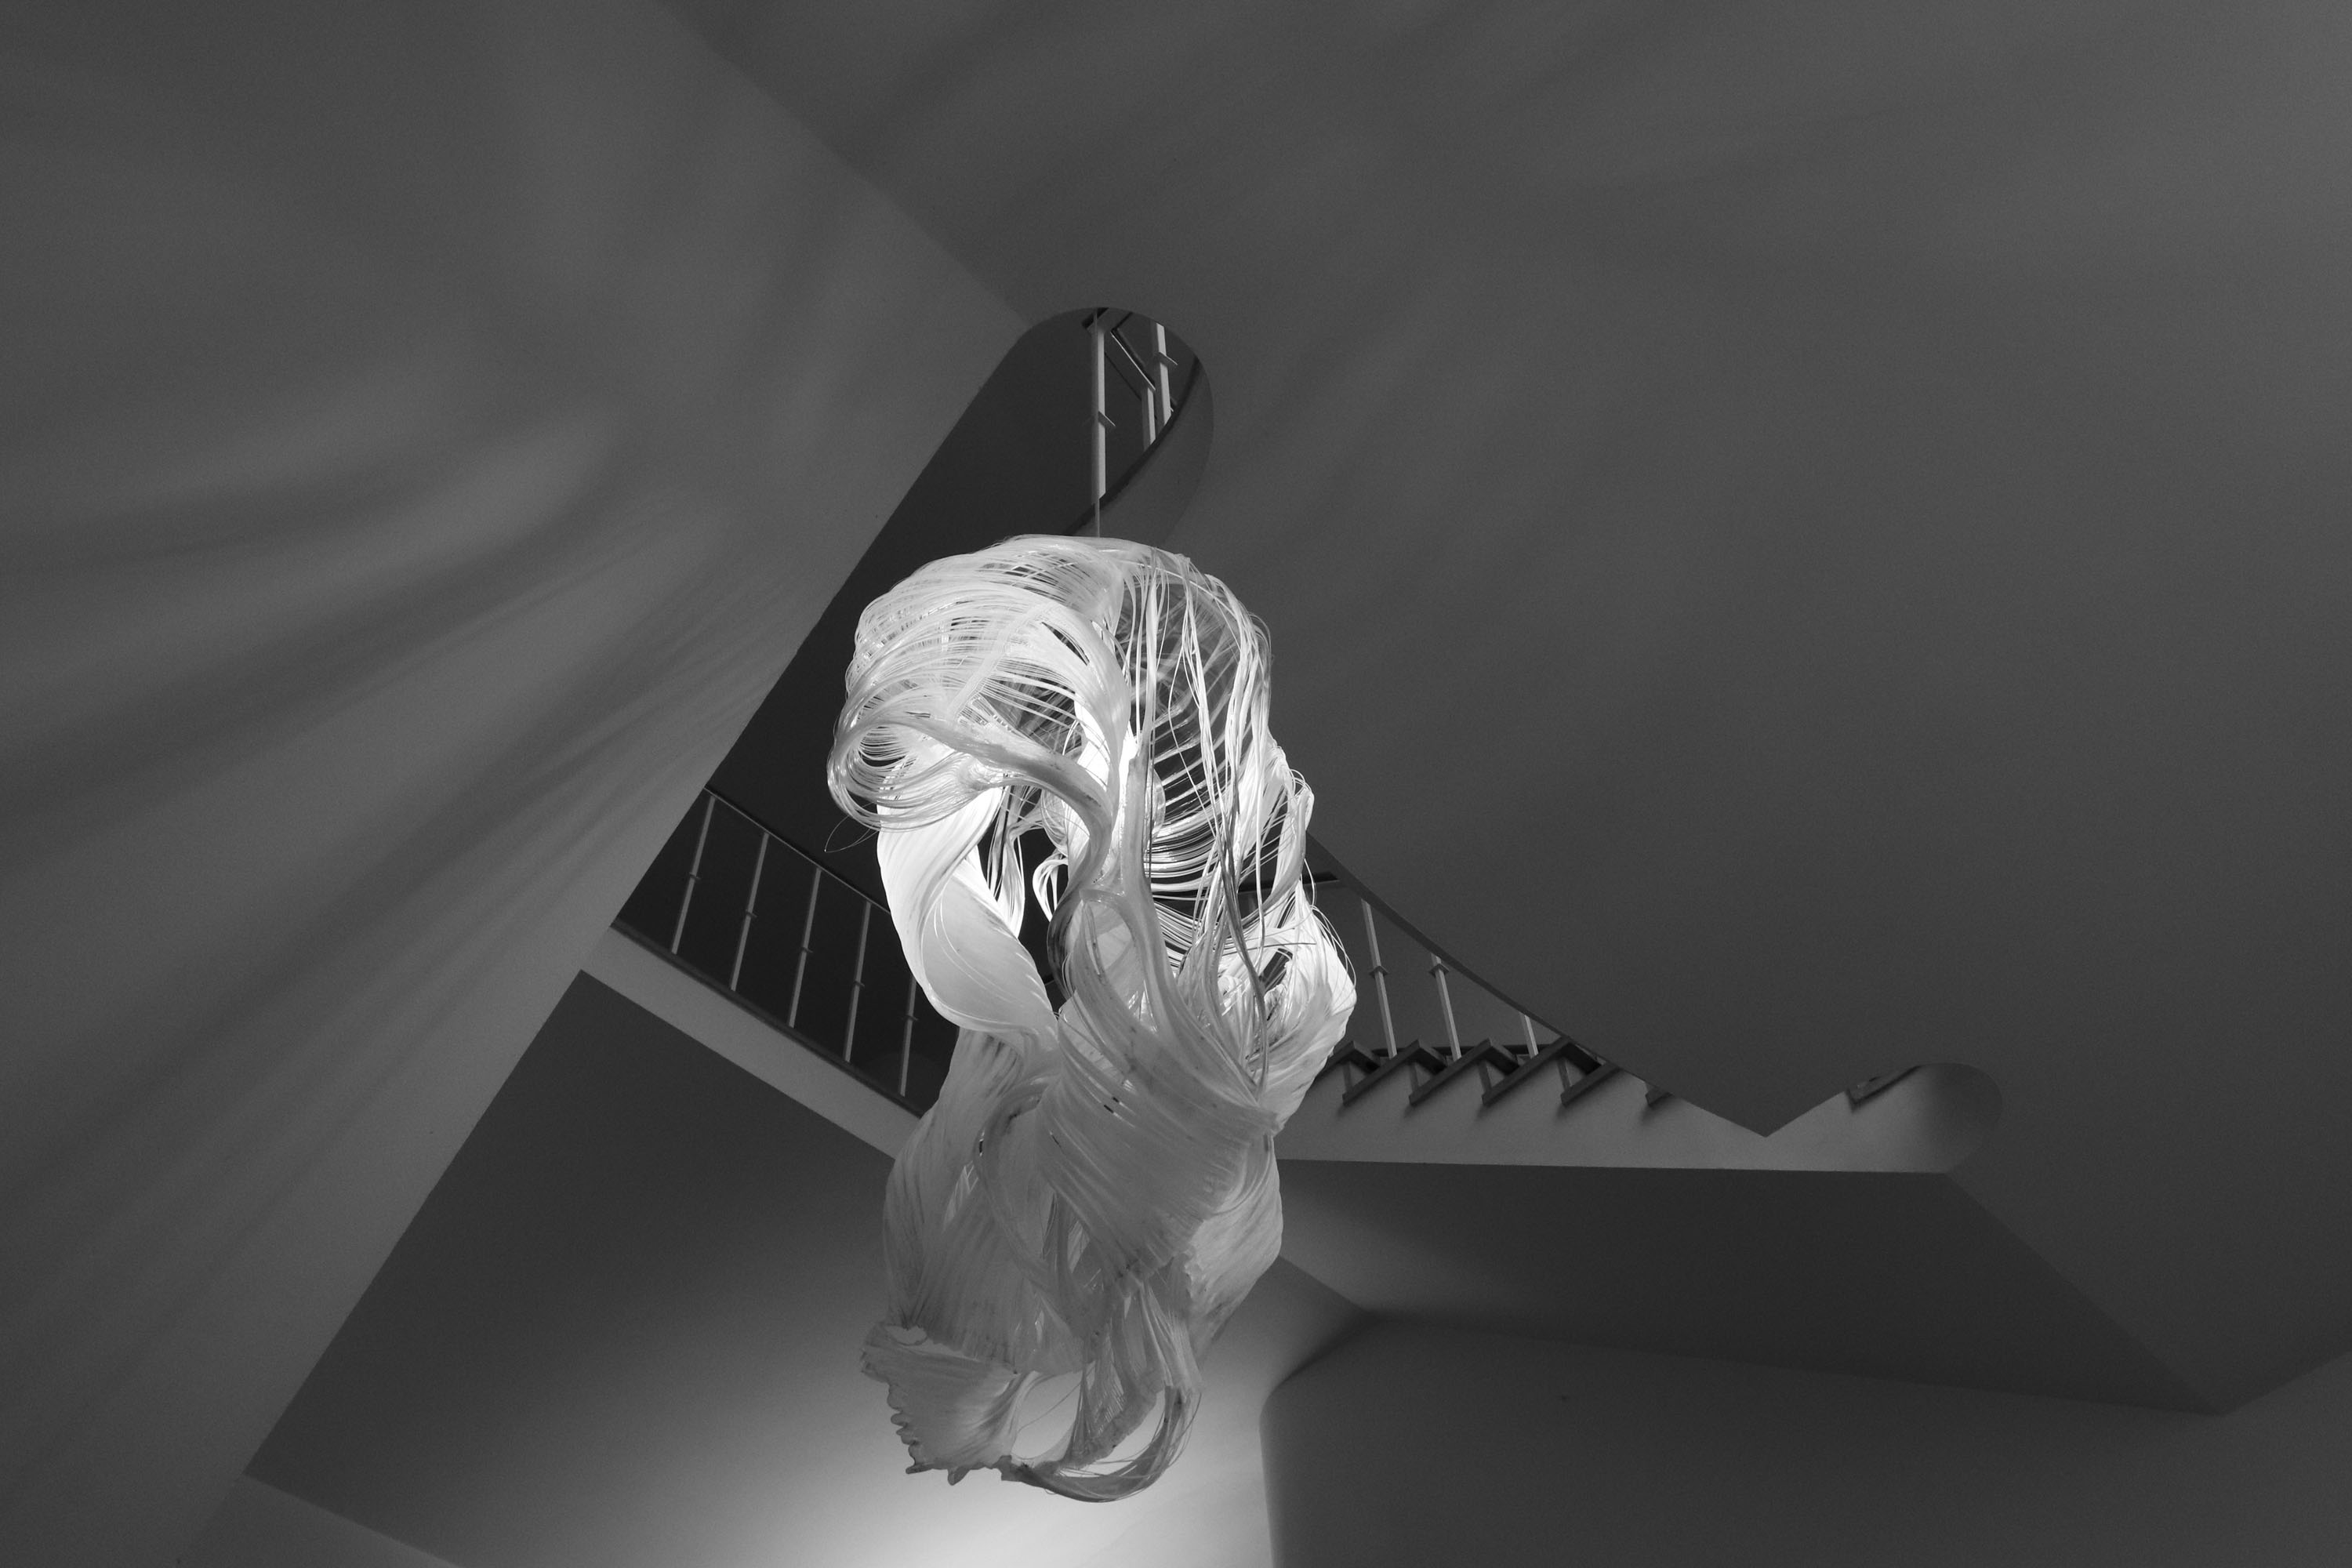
The making of Transition Sonsbeek 2021
1. Cleaning and sanding the original branch.
2. Smoothing out edges and cutting it up into 7 different parts for molding.
3. Liquid silicone brushwork, layer 1 of 6 for a detailed, airtight result.
4. Liquid silicone brushwork for the second and third layers.
5. Thickened silicone is applied with a spatula for layers 4, 5 and 6.
After 6 silicone layers on each of the 7 molds I continued with the support casts.
6. Claying down half (in case of a two-part cast) or 2/3 (in case of a three-part cast) with chamotte.
7. Patches of burlap submerged in liquid cast created a strong support cast. Each side got at least 5 layers of the cast burlap.
8. With the chamotte removed and the first half of the support finished, the edges were soaped and after that I continued with the other sections for the support.
9. With grip clamps on the edges, the support cast is finished.
After the molds were all done, I was able to start with the sugar casts and their reinforcements to hold the shapes into place.
10. The reinforcements are created with PVC tubes. These were cut into the proper size and placed inside the molds.
11. Sugar, water and food coloring are combined in a big pan and at 140° poured into the mold, up to 4 kilograms per pour.
12. With about 10% of shrinkage, a second or third pour is required to finish up the mold.
13. Cool down takes about 6 hours, depending on the size of each mold.
14. With the PVC reinforcements inside the sugar structure, the sugar casts are sanded to fit end to end.
15. The PVC is glued together, making all sugar structures fit (more or less).
16. Even when the PVC is connected, the sugar also needs to be. With a silicone band tied to the designated area, new hot sugar is poured to connect both ends together.
17. The connecting sugar is sanded to resemble the structure of wood.
18. With a wood drill, multiple holes are drilled into the sugar and PVC to add hooks for hanging the sugar branch in between trees. To seal the hanging system, new sugar is poured into the holes.
19. With a small sanding machine, the structure gets a final touch up before it is transported
Update 1: PVA Nylon Marinero lamp.
The pva nylon lamp is a developed Marinero experiment #1 prototype transformed into a lamp. Looking back at collaborations with Philips Lighting it seems to be an interesting step in how the material design can be used in a hybrid way. A custom made designed base construction was developed specific to fit the material around it. The perspex transparent sphere and white ceiling cap have been vacuum formed and attached to an electric white cable. A Philips light bulb was placed in the center of the prototype. The Marinero material design has been molded around the base construction. With warm water the material reshapes and adapts around the transparent sphere. The light causes the material to reflect the details of the prototype around the area where it is placed in. A first prototype was placed at the staircase of a national late 1930’s monument. The B46 building was a former nature and chemistry laboratory of the electricity organisation Kema. Designed by architects: G. Hamerpagt, H. Fels and prof.ir. R.L.A Schoenenmaker. Pictures were shot in B46 (22-03-2019) and an overview can be seen underneath.